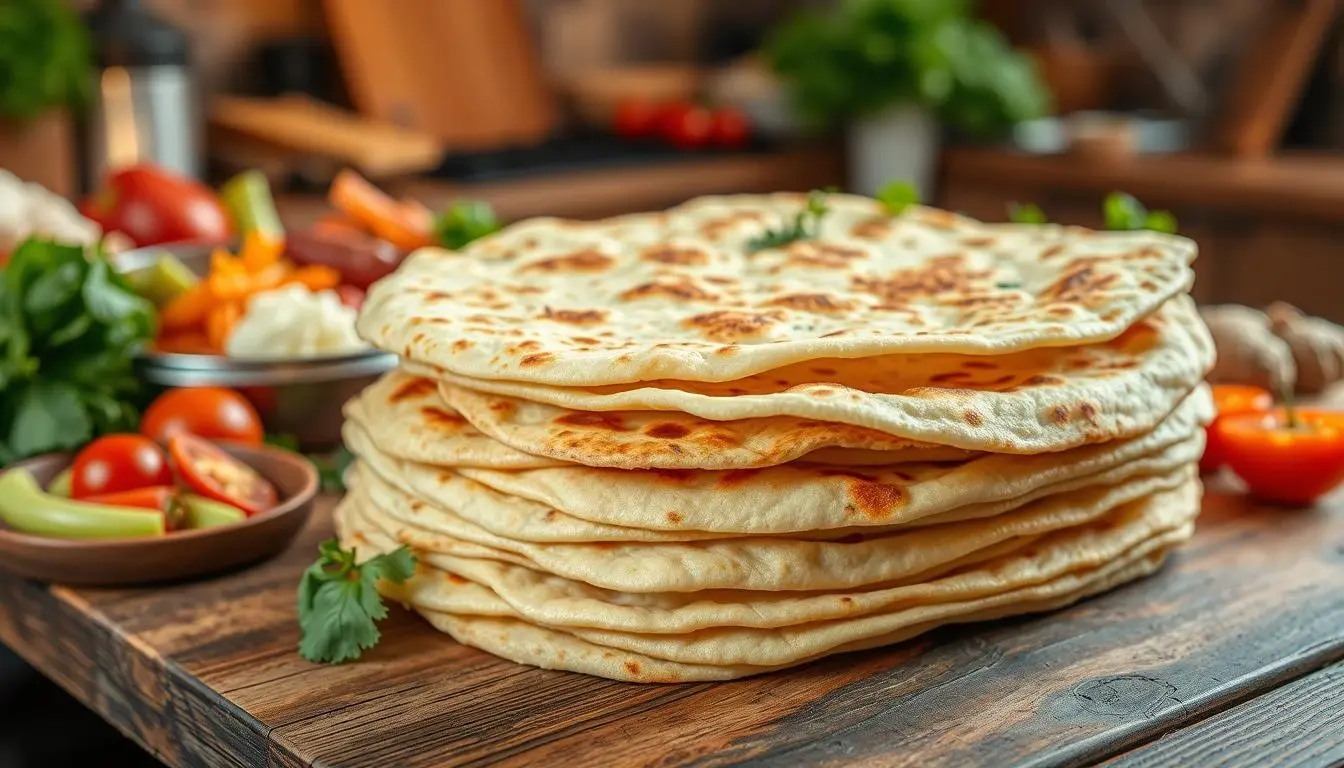
Imagine biting into a warm, soft, and thin piece of traditional flatbread, straight from the oven. This easy lavash bread recipe lets you make authentic lavash bread at home. It’s perfect for wraps and rolls. Lavash bread is a traditional Middle Eastern flatbread that has been loved for centuries. Now, you can make it easily at home.
Our traditional flatbread recipe will show you how to make lavash bread from scratch. You’ll need just a few ingredients. You’ll learn to make delicious and authentic lavash bread at home, just like in Middle Eastern bakeries. With this recipe, you can make a variety of dishes, from simple wraps to elaborate rolls.
Table of Contents
Understanding Lavash Bread’s Rich Heritage
Lavash bread is a middle eastern flatbread with a long history. It’s a key part of Armenian cuisine and culture. This traditional flatbread is also important in Eastern European and Middle Eastern countries, like Armenia.
Lavash bread is more than food; it’s a big part of Armenian traditions. UNESCO has recognized the art of making lavash as an intangible cultural heritage. This shows how important it is to keep these traditions alive for future generations.
Origins in Armenian Cuisine
In Armenian cuisine, lavash bread is often eaten with meals or used as a wrap. It’s baked in a clay oven, which gives it a special flavor and texture. Learning about lavash bread’s origins shows the skill and dedication that goes into making it.
Cultural Significance
Lavash bread is more than just food in Armenian culture. It symbolizes hospitality, community, and tradition. Sharing bread is a sign of respect and friendship in Armenian culture. This shows how important lavash bread is in bringing people together.
UNESCO Recognition
UNESCO has recognized lavash bread as an intangible cultural heritage. This highlights the need to keep traditional practices alive. As you learn about lavash bread, you’ll see the hard work of artisans and bakers who keep this tradition alive.
| Traditional Flatbread | Country of Origin | Cultural Significance |
|---|---|---|
| Lavash Bread | Armenia | Symbol of hospitality and community |
| Naan Bread | India/Pakistan | Staple food in many Indian and Pakistani households |
| Pita Bread | Middle East | Commonly used as a wrap for various fillings |
Essential Ingredients for Perfect Lavash Bread
To make perfect lavash bread, you need a few key ingredients. These are flour, water, salt, and yeast. The flour type is important for the bread’s texture and taste. You also need the right water amount for the perfect dough consistency.
Salt boosts the flavor, and yeast makes the dough rise. This gives the bread a soft, thin texture, ideal for flatbread for wraps and rolls.
Here are the essential ingredients you’ll need:
- Flour: provides structure and texture to the bread
- Water: helps to create the perfect consistency
- Salt: enhances the flavor of the bread
- Yeast: helps the dough rise, giving the bread a soft and thin texture, perfect for flatbread for wraps and rolls
With these simple ingredients, you can make a delicious, authentic lavash bread. It’s soft and thin, great for wraps and rolls. The trick is to use the right amounts and follow the traditional recipe.
By sticking to the traditional recipe and using these essential ingredients, you can make a tasty, authentic lavash bread. It’s perfect for any event.
| Ingredient | Quantity | Purpose |
|---|---|---|
| Flour | 2 cups | Provides structure and texture |
| Water | 1 cup | Helps to create the perfect consistency |
| Salt | 1 teaspoon | Enhances the flavor |
| Yeast | 1 teaspoon | Helps the dough rise |
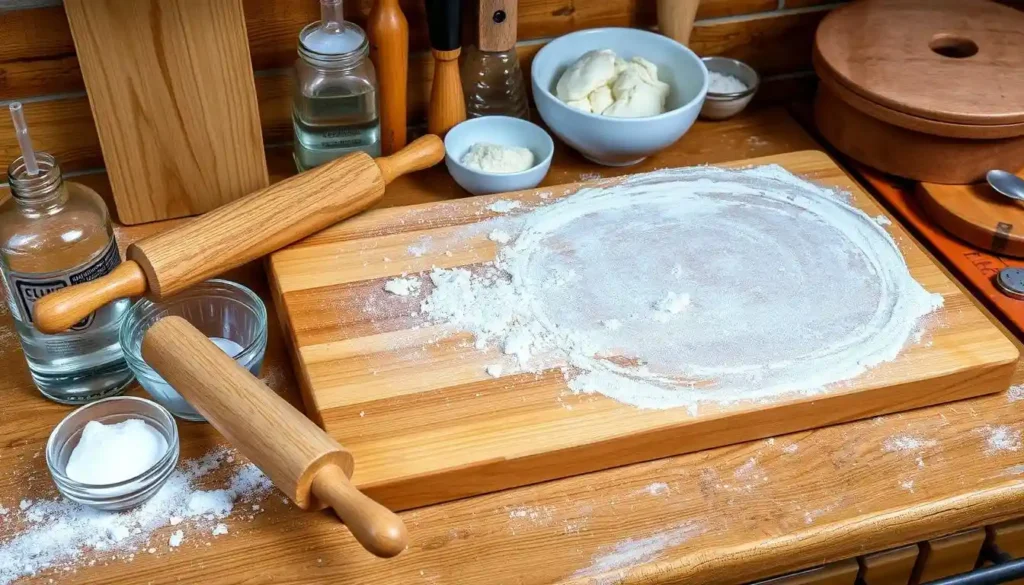
Kitchen Tools and Equipment You’ll Need
To make delicious lavash bread, you need some basic kitchen tools. A mixing bowl, a measuring cup, and a baking sheet are essential. These tools help you prepare and bake your lavash bread easily.
For an easy lavash bread recipe, the right equipment is key. A stand mixer can help mix and knead the dough. A food processor makes preparing ingredients simpler. Also, a pizza stone or baking steel can give your crust a crispy texture.
Traditional Tools
- Mixing bowl
- Measuring cup
- Baking sheet
Modern Alternatives
- Stand mixer
- Food processor
Optional Equipment
- Pizza stone
- Baking steel
With the right tools, you can make delicious lavash bread. Choose the tools that fit your needs and preferences for a great baking experience.
| Tool | Purpose |
|---|---|
| Mixing bowl | Mixing and kneading the dough |
| Measuring cup | Measuring ingredients |
| Baking sheet | Baking the lavash bread |
The Complete Lavash Bread Recipe
To make a delicious lavash bread recipe, start by mixing flour, water, salt, and yeast in a bowl. Knead the mix for a few minutes until it’s smooth and elastic. This is similar to other middle eastern flatbread recipes.
Then, bake the dough in the oven until it’s crispy and golden. Here’s how to make a perfect lavash bread recipe:
- Preheat the oven to 400°F (200°C).
- Roll out the dough to a thickness of about 1/8 inch (3 mm).
- Place the dough on a baking sheet lined with parchment paper.
- Bake for 10-15 minutes, or until the bread is crispy and golden brown.
With this lavash bread recipe, you can make a tasty middle eastern flatbread. It’s great for wraps and rolls. Try it with hummus, tabbouleh, or falafel.
Mastering the Dough Preparation
To make delicious lavash bread, you must learn how to prepare the dough. This includes mixing, kneading, and resting the dough. A traditional flatbread recipe needs a smooth, elastic dough. Follow these simple steps to achieve it.
When making the dough, mix the ingredients in a certain order. This helps create a soft, thin bread, just like lavash. You can use a stand mixer or mix by hand, whichever you prefer.
Mixing Techniques
There are several ways to mix the dough. You can:
- Use a stand mixer with a dough hook attachment
- Mix by hand with a wooden spoon or spatula
- Combine ingredients in a specific order for a smooth dough
Kneading Methods
Kneading the dough is key to making it soft and thin. You can knead in different ways, such as:
- Kneading by hand for several minutes
- Using a stand mixer with a dough hook attachment
- Letting the dough rest before kneading it again
Resting Time Guidelines
Resting the dough is important for a tasty lavash bread. Let it rest for at least 30 minutes. This allows the yeast to work and the dough to rise. You’ll get a soft, thin bread that’s great to serve.
Rolling and Shaping Techniques
To make a tasty armenian lavash bread, you must learn how to roll and shape the dough. First, use a rolling pin to flatten the dough into a thin sheet. Then, shape it into a circle or rectangle, based on what you like.
Shaping the dough right is key to getting the perfect flatbread for wraps and rolls. You can shape it by hand to get the look you want and add a fancy edge. These steps help you make different shapes and sizes, meeting your needs.
- Use a light touch when rolling out the dough to avoid developing the gluten.
- Use a gentle shaping technique to create a decorative edge.
- Experiment with different shapes and sizes to find your favorite.
Learning to roll and shape the dough well lets you make a delicious armenian lavash bread. It’s great for flatbread for wraps and rolls. With time and effort, you’ll get better at making bread and enjoy your creations.
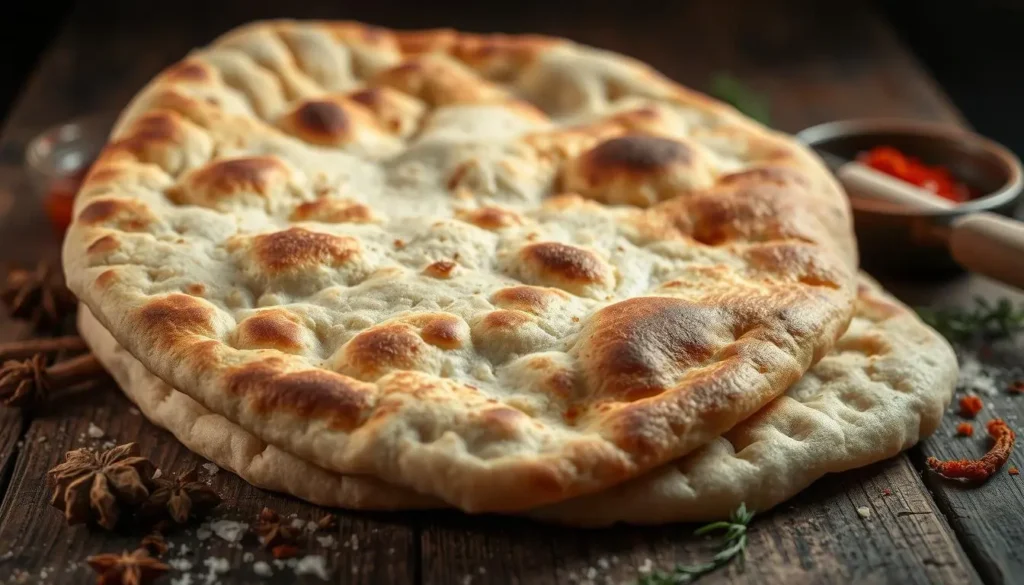
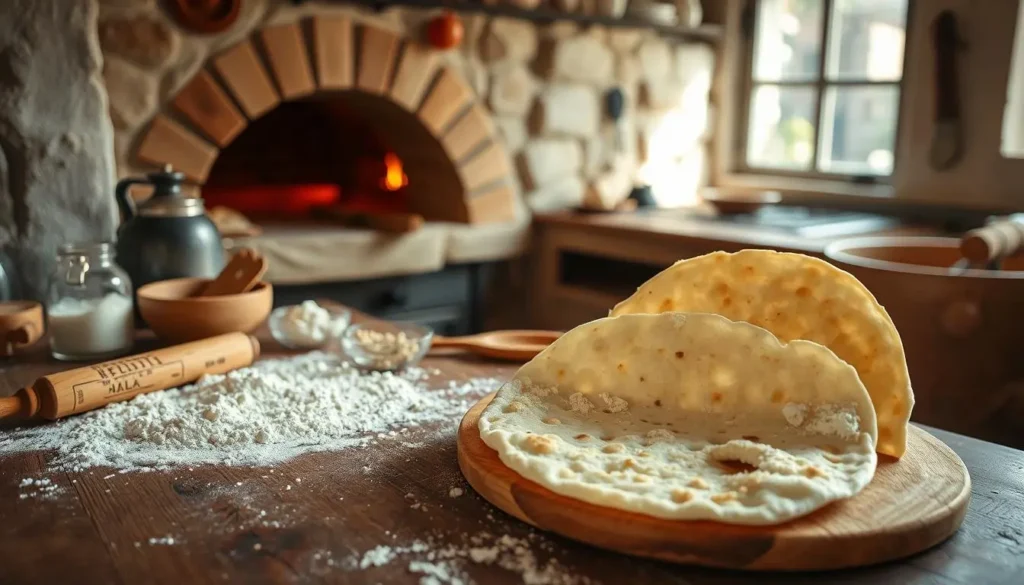
Traditional Baking Methods
Baking lavash bread the old way is still popular today. You can get that real taste and feel by using a traditional recipe. First, pick how you want to bake it. You can use a tandoor oven or your home oven.
In the Middle East, people often bake flatbread in a tandoor oven. This clay oven gets very hot, making the bread crispy. If you don’t have a tandoor, your home oven can still make great flatbread.
Using a Tandoor Oven
A tandoor oven gives your bread a true taste and texture. Just put the dough in and cook until it’s golden and crispy.
Home Oven Adaptations
Without a tandoor, you can still bake great lavash at home. Heat your oven high and use a baking stone or steel for a crispy crust. You can also use a broiler for that crispy touch.
- Preheat your oven to a high temperature (around 450-500°F).
- Use a baking stone or steel to create a crispy crust.
- Place the dough on the preheated stone or steel and bake for 1-2 minutes, until crispy and golden brown.
By using these traditional baking methods, you can make delicious lavash bread at home. Whether you bake in a tandoor or your oven, aim for a crispy outside and soft inside. With some practice, you’ll get the hang of making authentic Middle Eastern flatbread.
| Baking Method | Temperature | Time |
|---|---|---|
| Tandoor Oven | High | 1-2 minutes |
| Home Oven | 450-500°F | 1-2 minutes |
Modern Cooking Variations
There’s more to making lavash bread than traditional methods. You can add modern twists to create tasty wraps and rolls. Using a pizza stone or baking steel makes the crust crispy. This method keeps the flavor while adding crunch.
For those in a hurry or who like simple recipes, try a no yeast lavash bread. It’s quick and still tastes great. Cooking it on a grill or grill pan adds a smoky flavor that’s amazing.
- Using a cast-iron skillet to create a crispy crust
- Adding flavorings like herbs, spices, or cheese to the dough
- Trying out different types of flour, such as whole wheat or rye
These changes let you make a unique and delicious lavash bread. With a bit of creativity, you can enjoy a no yeast lavash bread that’s perfect for any time.
Common Mistakes to Avoid
When making lavash bread, it’s key to know common mistakes. These can ruin the bread’s quality. You want it soft, thin, with a crispy crust and a light flavor.
Common mistakes include dough problems, baking errors, and storage mistakes. Here are some to watch out for:
Dough Issues
Dough problems come from mixing too much or too little. This makes the bread dense or tough. To fix this, mix the dough just until it comes together. Then, let it rest as recommended.
Baking Problems
Baking mistakes happen when the temperature or time is off. This makes the bread not crispy or golden. To avoid this, preheat your oven right and bake for the right time.
Storage Errors
Storing the bread wrong can also affect its quality. To keep it fresh, store it in an airtight container at room temperature. Don’t store it in a humid place or wrap it in plastic, as it will get soggy.
Avoiding these mistakes helps you make great lavash bread. Use quality ingredients and follow the recipe closely. With practice, you’ll make soft, thin lavash that will wow everyone.
| Mistake | Effect on Bread | Prevention |
|---|---|---|
| Dough Issues | Dense or tough bread | Mix dough just until ingredients come together, let it rest |
| Baking Problems | Not crispy or golden brown | Preheat oven to correct temperature, bake for recommended time |
| Storage Errors | Soggy or stale bread | Store in airtight container at room temperature, avoid humid environment |
Storage and Reheating Tips
To keep your armenian lavash bread fresh, store it right. Wrap it in plastic wrap or aluminum foil. Then, keep it in a cool, dry place. This keeps its quality and texture great for flatbread for wraps and rolls.
When you’re ready to serve your armenian lavash bread, reheat it. You can use the oven or microwave. Here’s how to reheat:
- Preheat your oven to 350°F (180°C).
- Wrap the flatbread for wraps and rolls in foil and heat for 5-7 minutes.
- Or, reheat it in the microwave for 20-30 seconds.
By following these tips, you can enjoy your armenian lavash bread for days. Use it for many dishes, like flatbread for wraps and rolls.
Serving Suggestions and Pairings
Now that you’ve learned how to make traditional flatbread, it’s time to think about how to serve it. Lavash bread is very versatile. It can be paired with many different foods and used in various ways.
Try serving your lavash bread with classic items like hummus, tabbouleh, and feta cheese. These are favorites in Middle Eastern cuisine. Here are some other ideas:
- Falafel: Use lavash bread as a wrap for crispy falafel and your favorite toppings.
- Shawarma: Fill lavash bread with juicy shawarma meat, vegetables, and tahini sauce.
- Bruschetta: Top toasted lavash bread with diced tomatoes, basil, and mozzarella cheese for a twist on the classic Italian appetizer.
These suggestions let you enjoy lavash bread in many ways. Whether you prefer traditional or modern flavors, lavash bread is a great choice.
So, be creative with your lavash bread. Find out all the tasty ways to serve and pair it.
| Traditional Accompaniments | Modern Serving Ideas |
|---|---|
| Hummus | Falafel wrap |
| Tabbouleh | Shawarma wrap |
| Feta cheese | Bruschetta |
Nutritional Information and Benefits
Lavash bread is a nutritious choice, low in calories and high in fiber and protein. It’s perfect for snacking and great for those with dietary restrictions. The thin bread for dips is ideal, and the no yeast lavash- bread is perfect for special diets.
Here are some key benefits of lavash bread:
- Low in calories: approximately 80-100 calories per serving
- Rich in fiber: about 2-3 grams per serving
- Good source of protein: around 2-3 grams per serving
- Good source of essential vitamins and minerals, including iron, potassium, and magnesium
Lavash- bread is a healthy addition to any diet. It’s versatile and easy to use in daily meals. You can enjoy it as a thin bread for dips or as a base for sandwiches and wraps. The no yeast lavash bread is great for those with dietary restrictions, offering a healthy bread option.
Lavash- bread is a nutritious and versatile choice. It’s low in calories, high in fiber, and packed with nutrients. It’s perfect for a healthy diet, whether you’re looking for a thin bread for dips or a base for sandwiches and wraps.
| Nutrient | Amount per serving |
|---|---|
| Calories | 80-100 |
| Fiber | 2-3g |
| Protein | 2-3g |
| Iron | 10-15% of the Daily Value (DV) |
| Potassium | 10-15% of the DV |
| Magnesium | 10-15% of the DV |
Conclusion
Your journey of making lavash- bread has been enlightening and delicious. You’ve learned about its rich heritage and how to make it. Whether you followed the classic recipe or tried new variations, you’ve made a versatile and nutritious bread.
Keep improving your lavash- bread-making skills. Enjoy the process, try new ways to serve it, and share it with others. The joy of baking a fresh lavash is unmatched. So, keep exploring and enjoying the flavors of this timeless bread. Your culinary journey is just starting.
FAQ
What are the essential ingredients for making lavash bread?
To make lavash- bread, you need flour, water, salt, and yeast. The flour type is key for the bread’s texture and taste.
What kitchen tools and equipment are needed to make lavash bread?
You’ll need a mixing bowl, a measuring cup, and a baking sheet to make lavash- bread. Modern tools like a stand mixer and food processor can also help.
How do you master the dough preparation for lavash bread?
To master the dough, learn the right mixing and kneading techniques. Mix the ingredients in order, knead until smooth, and let it rest for yeast activation and rising.
What are the traditional baking methods for lavash bread?
Traditionally, lavash- bread is baked in a tandoor oven. But, you can also use a home oven. Preheat it high and use a baking stone for a crispy crust.
What are some common mistakes to avoid when making lavash bread?
Avoid overmixing or undermixing the dough. Also, don’t bake at the wrong temperature or time. And, store it properly to avoid humidity and improper wrapping.
How should lavash bread be stored and reheated?
Wrap lavash- bread in plastic or foil and store it in a cool, dry place. Reheat it in the oven or microwave to restore crispiness and flavor.
What are some traditional and modern serving suggestions for lavash_bread?
Serve lavash with hummus, tabbouleh, and feta for a traditional taste. Use it as a wrap for falafel or shawarma. For modern ideas, try it as a base for bruschetta or spinach and artichoke dip.
What are the nutritional benefits of lavash- bread?
Lavash- bread is low in calories but high in fiber and protein. It’s also rich in vitamins and minerals like iron, potassium, and magnesium. Its thinness is perfect for dips, and the no-yeast recipe is great for dietary restrictions.
1 thought on “How to Make Lavash Bread: A Step-by-Step Recipe”